Every electric guitar player in this day and age could benefit from a pedalboard. Pedals are a great way to explore new sounds and textures to help you find your voice as a musician. While it can be quite the rabbit hole to get into, a DIY pedalboard is a great tool to have in your musical arsenal. If you opt to build a pedalboard by yourself, this can seem like a mammoth task. But fear not!
In this article, we will go through our DIY pedalboard guide. We will touch on the pedals we recommend and how to build a pedalboard.
Be sure to stick around until the very end so you don’t miss out on any key information!
Do You Need A Pedalboard?
Technically, no. A lot of guitar players like to go straight into the front end of an amp and use the volume control on the guitar. This of course is a great way to make more from your playing and note choices.
However, if the music you play requires a specific sound for a song, a pedalboard is essential. Could you imagine playing the intro to Paradise City without a chorus pedal? Or Machine Gun without a UniVibe?
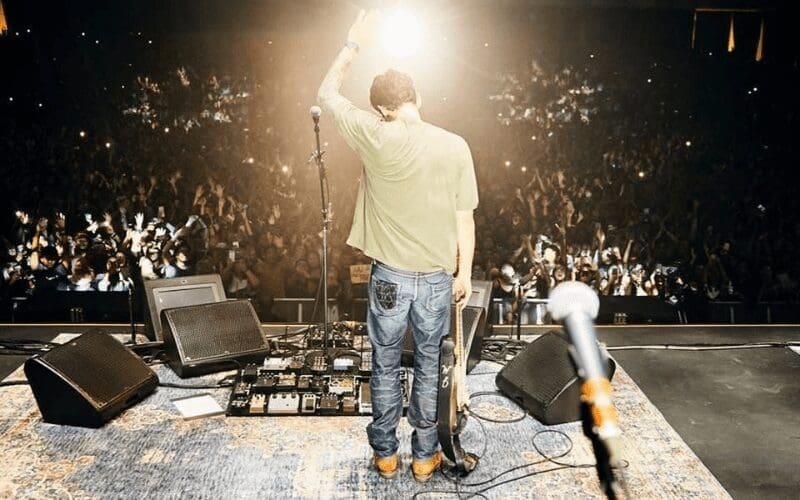
Additionally, if you’re a touring musician, a pedalboard is a convenient way of keeping all your pedals in one tightly packed unit. Not only are they more convenient to use, but they save you time in the set up and packing away.
All it takes is to plug in your power supply and connect it to the guitar and amp and you’re ready to rock and roll.
What Do You Need On A Pedalboard?
The barebones essentials for a pedalboard is a power supply, a gain stage, a delay and a modulation pedal; or as Mick from That Pedal Show would say, ‘something wobbly’.
Upon this foundation, you can build a board more tailored to your sound requirements for your specific genre.
For example, if you play in a metal band, you may need a distortion pedal to get the required tone. Or alternatively, if you play in a funk band, an envelope filter and compressor are your best friends.
It all comes down to what kind of band you’re in and what the music requires.
How To Build A Pedalboard
In this section, we will take you through everything you have to consider when you decide to build your pedalboard. Let’s take a look at our easy DIY pedalboard plans!
Pedalboard Size
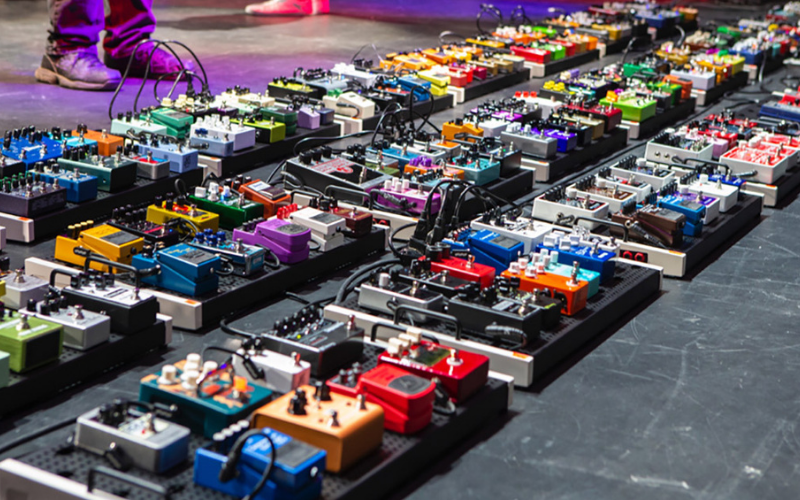
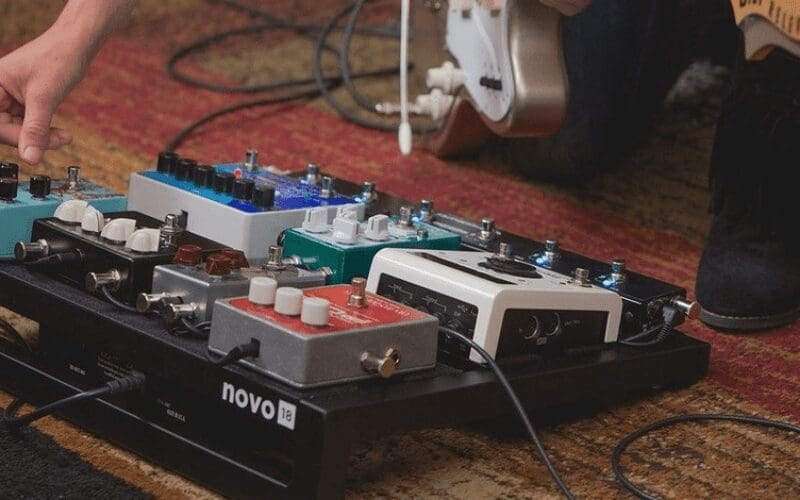
The choice of a small, medium or large pedal board boils down to the number and size of the pedals you’ll need to use. If you use five or fewer standard-size pedals and don’t plan on expanding your setup, a small pedal board should suit your long-term needs.
However, if you have more than five pedals but fewer than 10, you’ll want to consider a medium board. Anything more than 10 pedals and you should choose a large board.
Also, be sure to take into consideration the room you need for cabling on the board.
If you plan on buying more pedals in the future, it is a good idea to futureproof your rig. This means buying a bigger board to accommodate your future purchases.
Which Pedalboard?
There are many great brands out there to choose from. PedalTrain immediately springs to mind as they seem to be the most prominent. Other companies such as Schmidt Array also provide high quality pedal boards. It all depends on your budget.
Additionally, most pedalboards come with a DIY pedalboard case which will save knobs from getting knocked off and dings when in transit.
You could even make your own DIY wood pedalboard out of an old wooden palette. This homemade guitar pedalboard of course would take a lot of labour time and skill but is worth a shot if you want to save some cash.
Power Supply
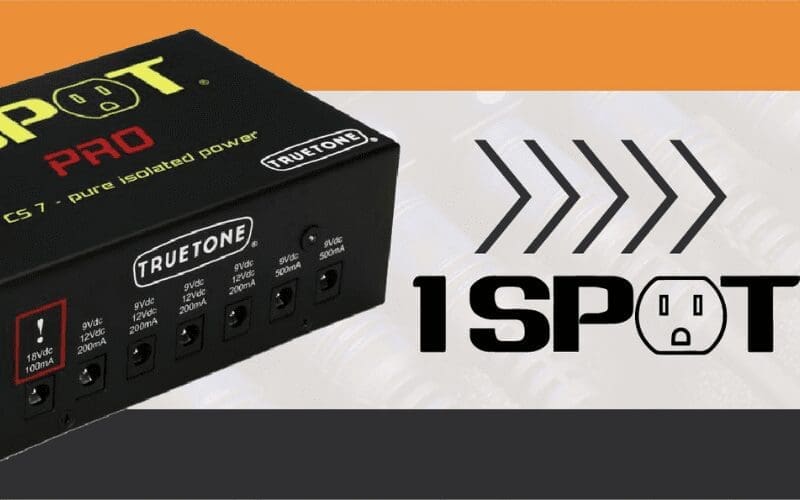
Most pedals operate on nine volts of power. However, many pedals require 12, 16, 18 and even 24 volts. Therefore, before you purchase a power supply, check the power requirements of every pedal you plan to use.
After this, choose a power supply robust enough to deliver the voltages you require. Also ensure that it has a sufficient number of outputs for as many pedals as you’ll use.
Be sure to choose a supply that has isolated power output sections to eliminate ground loops, hum and undesirable interactions between your pedals.
Some examples of power supplies include Voodoo Lab’s Pedal Power series, T-Rex Engineering’s Fuel Tank offerings, the MXR DC Brick power supply etc.
Cables
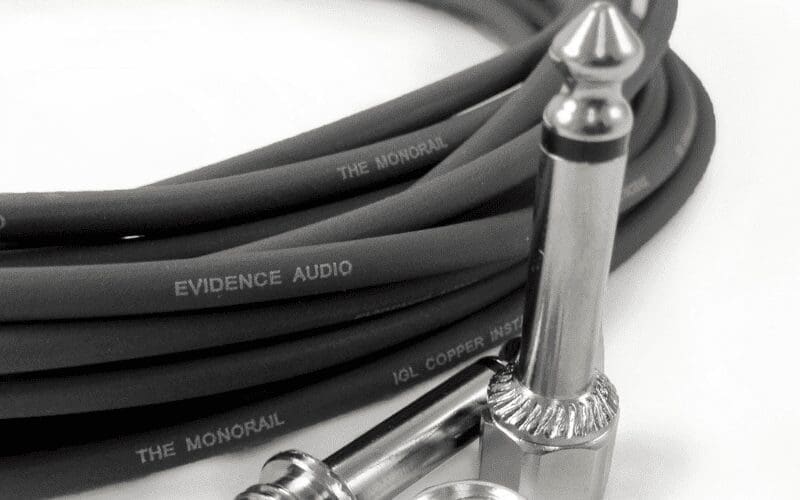
There are two rules to consider when you pick out your cables: always use cables with right-angle plugs. This is because they are more compact than straight plugs.
Also, keep your cable lengths to a minimum in order to cut down on clutter. This additionally ensures that you have the shortest and quietest signal path.
Customizing your own cable lengths is the perfect solution for your bespoke pedalboard build. Expert board builder and all-round pedal guru Dan Steinhardt swears by the Evidence Audio SIS1 Solderless Cable Kit to make custom patch cables.
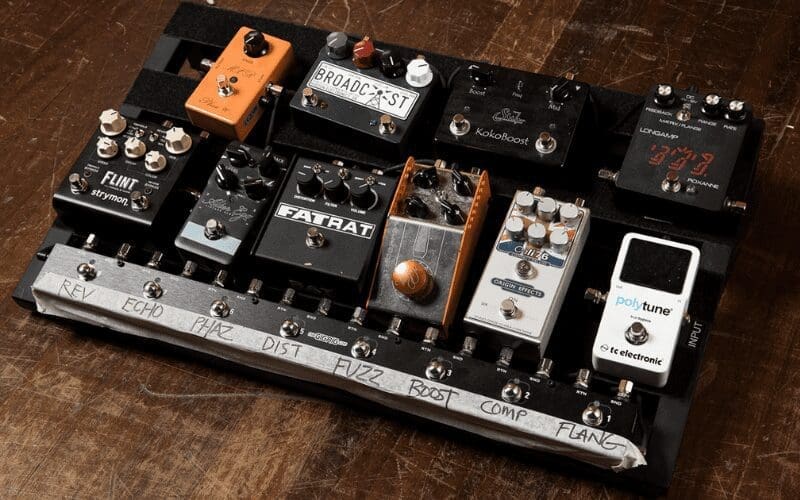
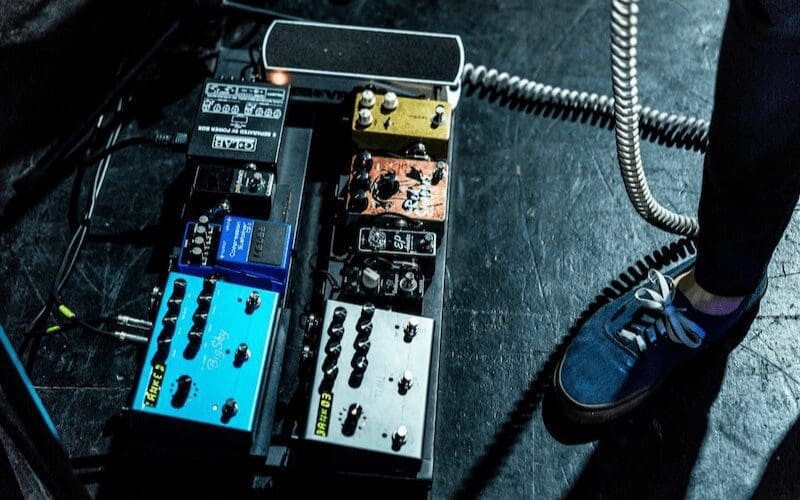
Layout
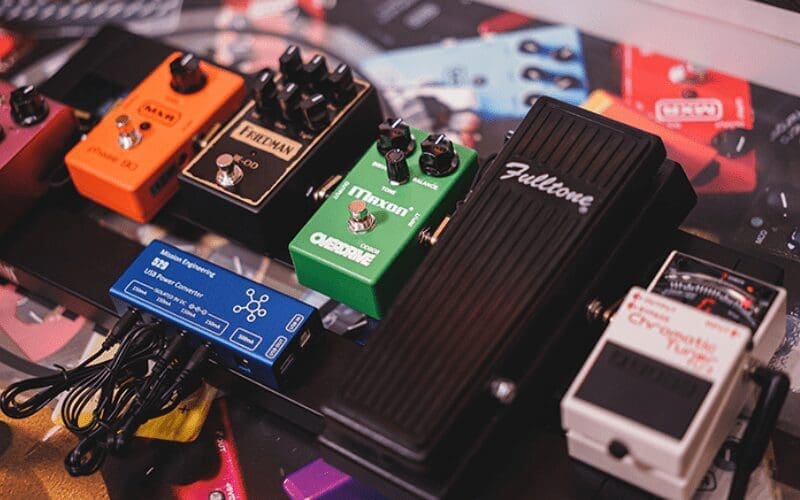
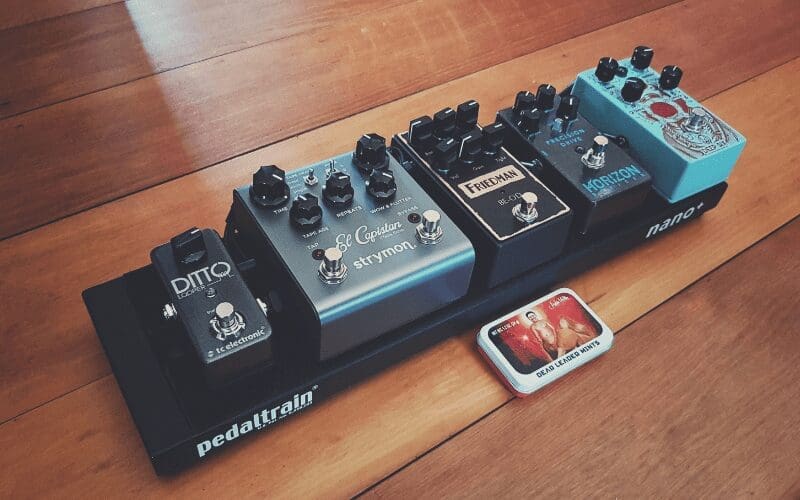
Before you velcro any pedals to your board, take some time to think about the most efficient and easy-to-navigate way in which to arrange them. As a general rule, you should lay out your pedals left to right in order of how they connect together.
It’s best to keep your most-used pedals nearest to you. This means that they’ll be easiest to adjust and reach with your foot.
If your pedalboard is dual tiered, like with the Schmidt Array boards, put the pedals you need to fiddle with the least underneath. For example, if you have an ‘always on’ pedal, that is perfect to put in the bottom tier.
Pedal Order
There are no rules set in stone about what order you should have your guitar effects pedals in. For example, most people say time based effects should go before your gain stages.
However, the likes of Steven Wilson puts his verb before his gain pedals. So it’s entirely down to personal preference.
However, if this is your first DIY pedalboard, we’ll go through the most popular pedal order. A typical signal chain is as follows –
First: Filters, pitch shifters, harmonizers, and dynamic pedals (such as compressors)
Second: Distortion, overdrive, fuzz, boost, and EQ pedals
Third: Modulation pedals (phaser, chorus, and flangers)
Fourth: Time-based effects (delay pedals, tremolo, and reverb pedals)
Tuners
Although not technically FX pedals, tuners are a part of every guitarist’s setup. Therefore, it is important to think about where they’ll go in your signal chain. Some guitarists like to have them at the front of the chain, while others like them last or somewhere in between.
If you place your tuner at the start of your signal chain, activating it will silence your guitar but not your pedals. This is fine if you want to allow time-based effects to continue trailing off while you tune. However, it isn’t ideal if you want to silence your rig between songs.
In order to get total silence, you’ll need to place the tuner last in the chain. On the other hand, doing this requires you to turn off your distortions and other effects prior to tuning.
There are trade-offs to either scenario, so pick the one that works best for you.
Pedal Switching Systems
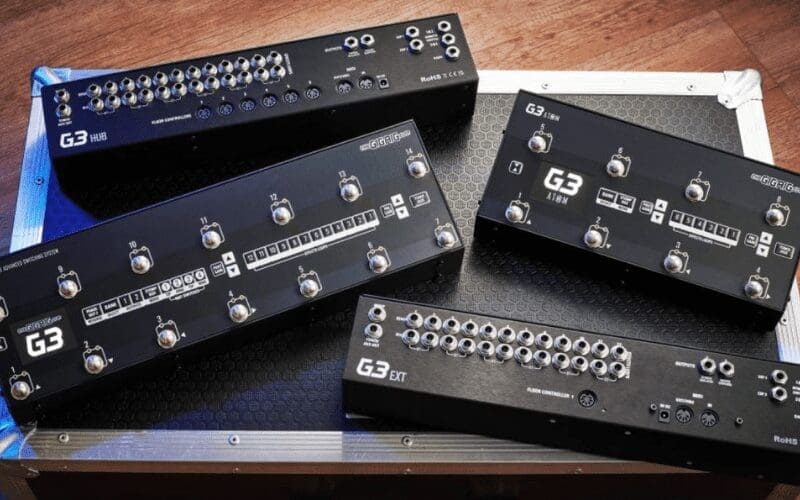
If you want a super silent pedalboard, a switching system is a way to go. Something like the Gig Rig Quartermaster are great examples of switching systems to implement on your DIY pedalboard.
The purpose of these products is to eliminate the pedal from the signal path entirely if it is not in use. This can be helpful if you have particularly noisy pedals or pedals that do not have true-bypass.
If you want to delve into the land of presets, then switching systems are the way to go. Products such as the Gig Rig G3 are excellent midi-enabled switching systems.
This allows you to get particular sounds, for a song part for example, at the click of a button.
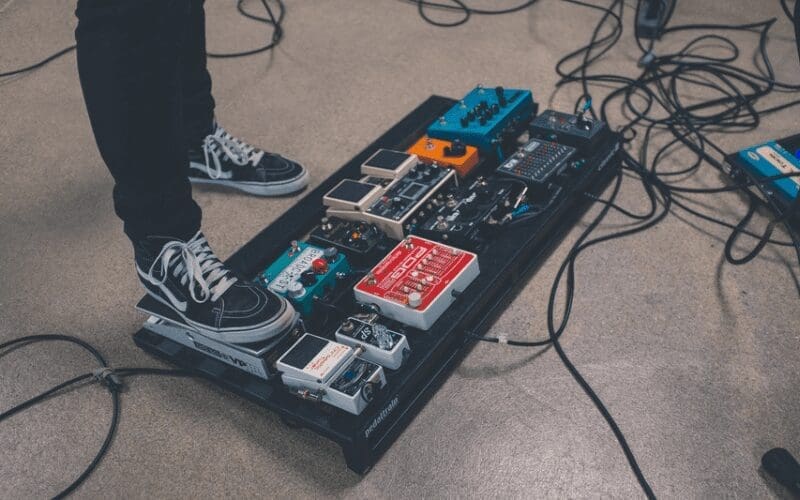
Attaching Your Pedals
Now you have sorted your board of choice, your power supply, your pedal order/ layout, and your patch cables, it’s time to attach your pedals. Most pedal boards come with velcro tape that you can cut to length and attach to the board.
It is best to attach the soft side of the velcro to the board and the rough side to the pedals. This helps to stop it detaching from the board itself. Cut little squares of the rough velcro and attach it to the corners of each pedal.
Do this instead of covering the whole bottom of the pedal as that makes it difficult to detach your pedals.
Now You Know How To Build A Pedalboard
So there we have it! We’ve looked at how to build your first DIY pedalboard. We’ve gone through the benefits of a pedalboard as well as how to build your own. We’ve also touched on pedal order and why switching systems can be a nifty piece of kit.
A homemade pedalboard is a great tool and building a DIY guitar pedal board can be a fun endeavour. However, try not to get too caught up in music gear, as fun as it may be!
Pedals and your music gear, in general, are merely vehicles for your musical expression. So keep this in mind and we look forward to seeing your fancy new pedalboard builds!
How did you get on building your pedalboard? Let us know in the comment section below. If you enjoyed this article, why not share it on social media? Be sure to tag us @musicgateway!
If you enjoyed this article why not check out another on our blog? Here are our articles on the Best Noise Gate Pedals, Effects Pedals Guide, and Distortion Pedals Guide to get you started!
Are You A Musician Or Artist?
Do you want to learn more about music gear and further your education? Then check out the Academy. Our courses are designed to give you skills that are valuable to you as an artist. Whether you’re looking to learn a new instrument, understand how to use a specific DAW or want to get better at songwriting, we’ve got a course for you!
By joining Мusic Gateway, you can also collaborate globally with other musicians, songwriters producers and more. Finally, amplify your music to those that need to hear it with music promotion and professional sharing tools. Get your 14-day free trial, no strings attached.
SHARE THIS ARTICLE: