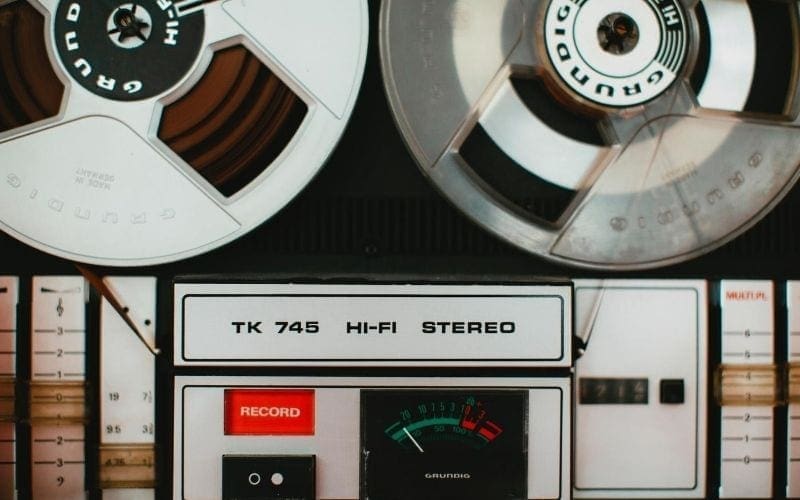
What is music mastering? In the audio-production world, music masters is often perceived as this elusive, mysterious audio magic where your tracks get sent off for mastering and somehow, come back sounding better than before. You’re usually left baffled by the results. How did they get it to sound like this? What did they do? After mastering music, our music sounds polished, louder, phatter and more aesthetically pleasing to the ear. Your mix sounded great when it was sent off, but now, it really sounds like a record. But how did they do it? What was done to the audio?
In this article, we’ll discuss the difference between mixing and mastering, and explain what mastering is exactly. We’ll explain the basic mastering process, including a typical mastering workflow, what processors are used and give you some tips.
The Difference Between Mixing & Mastering

Mixing and mastering are two separate stages of the record production process. Mixing comes right after recording the music. It’s the art and science of balancing the frequency information, volume, stereo image and dynamics of the separate instruments into an artificial environment to enhance the life of the music and optimise the listening experience for the listener. It takes artistic intuition (musicality), an understanding of audio processing and experience to mix music effectively.
Song mastering is the final stage of the record production process and comes after the mixing stage. Mastering engineers process the final stereo mixes of music to create a consistent sound in the music that translates across different playback systems. Equalisation, compression, limiting and stereo imaging are typical audio processing techniques mastering engineers use to achieve this. Mastering is both an audio-technical and editorial process. Audio engineers like to think of mixing and mastering as creating and framing a painting.
Mixing is the painting – mixing the colours, adjusting the composition and creating depth.
Mastering is the frame – finalising everything, making minor adjustments, choosing the cover, size and material of the frame and deciding how it will hang on the wall.
History of mastering
Early recording technology didn’t separate recording, mixing, and mastering. Instead, sound was captured directly onto wax discs using a stylus and acoustic horn. These discs were used to create stampers for 78 rpm discs. The introduction of the LP and 45 rpm records led to tape recordings and the need for engineers to reduce loud peaks when cutting master discs to prevent damage to the disc cutter head or stylus.
Compressors and limiters were introduced to detect and reduce peaks, impacting audio after recording and mixing. This led to the earliest form of mastering, requiring monitoring and adjustment for optimum playback without compromising sound quality. The standardized RIAA curve made EQ part of mastering, but also caused side effects such as stylus popping out of the groove. Skilled engineers like Doug Sax, Bob Ludwig, and Bernie Grundman focused on utilizing these tools to enhance the listening experience.
What can mastering do?
Audio Restoration
The final stage of ensuring the quality of your audio is mastering. This step allows for the correction of any issues that may have been missed during the initial mixing, such as clicks, pops, or hisses. Additionally, minor errors that become more noticeable when the audio is amplified during mastering can also be rectified.
Stereo Enhancement
By utilizing stereo enhancement, you can enhance the spatial awareness in your master. Proper implementation widens the mix and creates a more immersive sound. Additionally, it has the potential to improve the focus of your centre image by emphasizing the low-end frequencies.
EQ
Achieving mastery in EQ involves harmonizing the spectrum of frequencies present in your track. A perfect master is characterized by a proportionate and well-balanced audio output, with no particular frequency range dominating over others. Such a harmonious piece of audio will sound equally great across all playback systems.
Compression
The art of compression is crucial in handling the dynamics of a stereo track. It effectively regulates louder signals while elevating softer sections to amplify the overall impact of the masters music. This technique plays a pivotal role in unifying all elements of the mix and highlighting specific parts of the signal to create a cohesive sound.
Masters in music – loudness
An essential aspect of mastering involves elevating the mix to a suitable volume for audience consumption. This is achieved by utilizing a limiter to further compress the dynamic range. By doing so, the track can attain optimal loudness without risking any clipping that could result in distortion.
Bit depth reduction & sample rate conversion
During the production phase, the audio file type employed may differ from the ultimate output medium. In case a conversion of sample rate and bit depth is necessary, it will be executed during the mastering process’s conclusion to maintain optimal audio quality.
Sequencing & spacing
The process of organizing the tracks in the order they will be presented on the album and incorporating intervals of silence between them to create a cohesive flow is known as sequencing and spacing.
Music Mastering Mythology
What is mastering in music?
Before we go through the basic workflow and techniques of music mastering, we should clarify a few of the mastering myths.
The Louder the Better
Yes and no.
Music does in fact, sound better when it is loud. This is a psychoacoustic effect of listening to loud music: our brains process it and tell us that it sounds good. It’s a perception thing. It’s why we turn up the volume when our favourite track comes on. The downside is, that beginners often fall into the trap of turning everything up to 11 because it sounds better and they end up ruining the audio… Making it louder is also an idea left over from the loudness wars; a style of music mastering that became popular where mastering engineers created a much louder (than mainstream) master output. So sure, make your master louder. It generally makes mixes sound ‘better’. But be careful not to overdo it and ruin your audio.
Music Mastering Can Fix Your Mix
No, it can’t.
You can’t fix a bad mix in mastering. Music mastering, as we’ve explained, enhances the aesthetics and sonics of a mix. If you try to master a bad mix, all you’ll do is enhance a bad mix… If a mastering engineer receives a bad mix from a client, they’ll just send it back with notes for the mixer, because they can’t work with it.
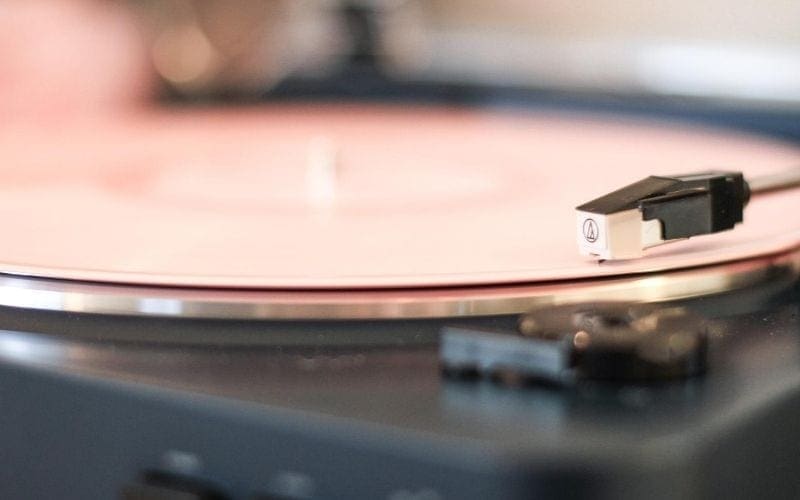
Analogue Is Better Than Digital
No, it’s not.
They’re just different flavours. This might have been the case 20 years ago when digital audio technology was still maturing, and analogue equipment was still very much in heavy use. Now, engineers work with both and there’s no ‘right or wrong’ since the two technologies are mixed and matched throughout the production process.
Music Mastering Workflow
Like mixing engineers, mastering engineers have a way of approaching each mastering session. They have a workflow to keep them organised and focused. A typical mastering workflow will look something like this:
Preparing your track > Equalisation > Compressors > Stereo Imaging > Limiter
Preparing Your Track For Mastering
Load your track into your DAW. Before you start using processors for music mastering, create the start and end points of your track by applying fades. In other words, this is the part where you establish breaks in songs and silence between pressing play and the music playing. Yes, this is a detail mastering engineers pay attention to. You should too.
Next, find the start and endpoints of all your song sections – intro, verses, choruses, middle- 8 – outro and label them clearly. This will make it easier for you to find and listen to different parts of the song. It’ll also help when it comes to defining macro-dynamics. More on macro-dynamics later!
Meters
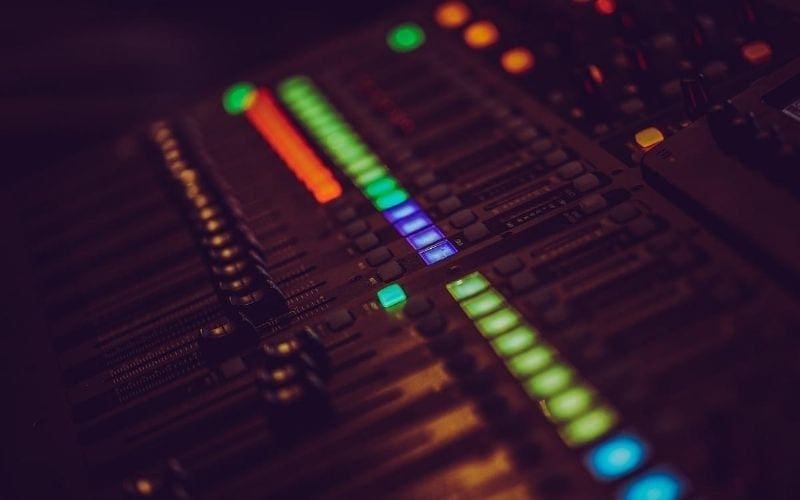
Now, add your meters to the output of your master output. When mastering, you’re going to be watching these to measure loudness, frequency information and stereo image. Make a note of where your RMS levels are, peak levels. Make a note of the frequency information of your track etc…Your meters should give you an idea of where you want to go with your master; how much gain to add overall, what can you cut or boost from the frequency spectrum, can the track benefit from stereo widening and so on.
A word of caution though. Don’t rely on the meters to be entirely truthful. Always listen to the music to decide what it needs. Use the meters only to support your decisions and monitor loudness levels.
Equalisation
At the beginning of any audio mastering chain, mastering engineers will always reach for an equaliser (digital or analogue) to clean up a mix. The EQ is used to clean up any pesky frequency clusters. If you don’t know about EQ yet, go through our guide!
The reason we apply EQ at the beginning of our mastering chain is to eliminate any dodgy frequencies before they are processed and enhanced by compressors, limiters, images and so on. With your EQ set up, go ahead and adjust any frequency information. For example, add a high shelf if you think the track lacks a high-end presence.
Similarly, roll off up to 40Hz using a high pass filter; people aren’t going to hear this bass on their systems and they’re just idle frequencies cluttering up your track. Generally, the goal here is to even out your frequency information as best you can, enhance areas (tastefully) and clean up the frequency spectrum. Be aware that EQ is not entirely necessary in mastering. It is only used if the mastering engineer (you) has use for it and can use it constructively. If you’re going to use an EQ, make sure it’s a deliberate decision, not a passive processing move. When using an EQ in mastering, use it sparingly and don’t make extreme adjustments. Only boost and cut by a couple of fractions of a dB.
Compression
Although dynamic is a fundamental component in music that makes music what it is, we use compressors to reduce dynamic range, avoid dramatic spikes in loudness and raise the level of quiet sections. See our guide on compression and compressors.
There are two types of dynamics in a song. There are macro-dynamics, which are the dynamic loudness differences between sections of a song, such as verse, chorus, bridge etc… The other type are microdynamics, which are the rhythmic and transient dynamics of the music – the groove of the drums, the rhythm guitar, the lead synths and so on… An effective and easy way to adjust the macro-dynamics of a track is to do it manually, with automation. You can raise the volume of the choruses by a few fractions of a decibel, for example.
By tweaking the macro dynamics, you establish a more defined contrast between the different song sections and augment the emotional impact of the song. Using a compressor can add power and punch to a mix, enhancing the overall energy and emotion of the music. It can add clarity to your micro-dynamics and really fuse the entire track together.
When using a compressor, take a less is more approach. Don’t ‘slam’ the track through it. Use the following as a starting point
- Set your ratio at 1:25:1
- Set your threshold at around 1db – 2db
- Add 0.5 dB to 1dB of makeup gain
What you do after this is completely up to you and what you feel the track needs. Remember to always trust what your ears are telling you. If your compressor isn’t really working in the master chain, no matter how much you tweak it, don’t be afraid to remove it.
Stereo Imaging

Using a stereo imaging processing technique or using a simple stereo image plugin can give your master a wider and deeper stereo image. Increasing the stereo image makes a sound bigger, wider and more powerful. Ideally, your stereo mix should be big and wide already; not needing further widening during the mastering stage. But sometimes, music mastering engineers will add width, if they feel the track can benefit from it.
There are two common ways to enhance the stereo width. Using a stereo imaging plugin, you can use its simple imaging parameters to widen the stereo image of the entire mix. Just throw it on after your compressor and have fun! It’s strongly recommended that you don’t go overboard with stereo imaging plug-ins.
Although they’re designed to widen a mix, they can create audio artefacts if used excessively. For example, overuse can cause phase issues in the audio which cause your track to sound thin and weak. In the worst cases, you can get phase cancellations which remove frequency content altogether…So, if you use a stereo imaging plug-in, use it incrementally, applying small amounts of width to your track until it sounds right. This way you avoid phase issues and your track won’t sound overly processed.
The most effective way to create stereo width though is using an EQ with a mid-side function. Add another EQ after your compressor and with the mid-side engaged; apply a high shelf on the sides (at around 5kHz) and leave the mid (the mono image) as is. This enhances the presence of mid to high-frequency content to the left and right channels, leaving the low-frequency information front and centre, giving an overall wider stereo image.
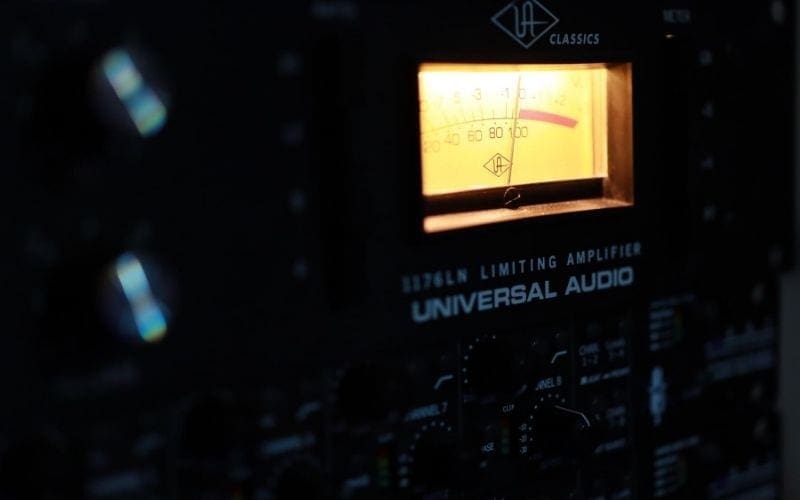
Limiting

Mastering engineers like to add limiters to the final stage of mastering to establish a competitive loudness against other commercial records. Limiters are essentially aggressive compressors. They have a lot of the same parameters and characteristics of a compressor, just on a more dramatic scale. Limiting further compresses our music raises the overall loudness and sets the loudness limits of our track. By raising the loudness of our stereo mix, limiters enhance the aesthetics of our music because we perceive the music to have more energy.
To get started with a limiter and apply basic limiting; set the threshold the same way you would a compressor. Now, adjust the threshold so that the average loudness is raised enough to compete against other commercial tracks but not loud enough that the audio is damaged or smeared. Next, set your loudness limit. That’s pretty much it. Of course, there’s a lot more to limiting than this but that’s a topic for another time.
Again, use your ears to make the final decision. If the track is loud enough already, don’t add a limiter. Likewise, if the track sounds like it could benefit from 2dBs of gain then add a limiter!
Music Mastering Tips

Here are a few tips to keep you on the right track – no pun intended…
- Tip 1 – Make sure you have reference tracks. Any track that you love the sound of in general is like the track you’re mastering. Compare loudness, frequency information and stereo image. This will give you inspiration and inform your decision-making.
- Tip 2 – Use meters, always, to monitor levels and stereo images.
- Tip 3 – Don’t master with your eyes. Don’t adjust thresholds on compressors/limiters and EQ the high end because it ‘looks about right’. Always make sure you are listening to the audio when processing.
- Tip 4 – Take frequent breaks to avoid ear fatigue.
Tip 5 – Listen to different genres of music on your mastering systems before mastering. This will give you a sonic context when working on your own project.
Tip 6 – Less is always more.
Tip 7 – Division of labour is your best strategy. Make the audio processors work together to enhance the track. Don’t make a compressor or EQ do all the heavy lifting.
Mastering for streaming
Free Music Mastering With Мusic Gateway

With our incredible free music distribution service, we master your music for free to make sure that you sound the best you can before your release. With a free account, you get 2 free songs to start with and you get more based on your plan.
Our music distribution service gets your music onto all major platforms such as Spotify, Apple Music, and Amazon Music. What’s more, you keep 100% of your sales and we don’t get a penny from you.
In addition, we offer exclusive sync licensing opportunities and free sync representation. As well as a free press, blog, and music promotion. Hopefully, you’ll love what we can do for your career and will want to use some of these other amazing services!
Final Thoughts On Music Mastering
Unfortunately, music mastering is something that can’t be taught, it needs to be learned. You’ll only truly understand the process of mastering once you’ve done it a handful of times. Fortunately, you can develop competency quickly. Over time, you’ll only get better.
Keep in mind the workflow described in this article as it is an ideal starting point for any beginner mastering engineer. Be aware, however, that this workflow isn’t final and depends entirely on what your track needs. Sometimes a track only needs a little EQ and limiting. Sometimes nothing at all. It all depends on the music. Remember that! Also, remember to use your processing equipment/plugins tastefully and adjust parameters incrementally. It’s easy to overdo it. Keep in mind that less is more.
Making good sounds is like preparing good food. If you overcook it, it loses its taste
– Bob Katz, Mastering Engineer, 3-time Grammy winner