Conquering MainStage 3: The Fool-Proof Guide & iPad Tutorial
So just what is Mainstage 3? Well, computers have revolutionised many elements of the music industry, including live-rig performance. Musicians can now loop, use samples, add effects, trigger backing tracks and utilise a host of new sounds via MIDI to recreate the huge timbre of modern albums (for inspiration on what’s possible – check out some of Imogen Heap’s live shows).
You may be wondering, what’s the deal with Mainstage 3 vs Ableton Live? Well, let’s talk about it.
When talking about Mainstage 3 vs Ableton Live, more often than not, Ableton tends to be the market leader here. However, for the past few years, Apple had their own performance software available and with the advent of a new and improved Logic Pro X, they released MainStage 3 for all your live performance and recording needs.
Tools like these can help you take your first step towards your music career.
Keep reading this Mainstage 3 tutorial to find out everything you need to know about using Mainstage 3 and also how to use mainstage 3 live!
What is Mainstage 3?
Personally, I’ve always seen Apple’s MainStage 3 as a back-pocket kind of tool. I’ve played around with it with grand ideas of enhancing our live show but I’ve typically defaulted back to my comfort zone of live guitar, banjo and lap steel in a fully live context.
However, a badly broken collarbone a couple of weeks ago quickly put the brakes on my tried and tested approach (side note, snowboarding is dangerous) and forced me to look at other ways of performing our songs.
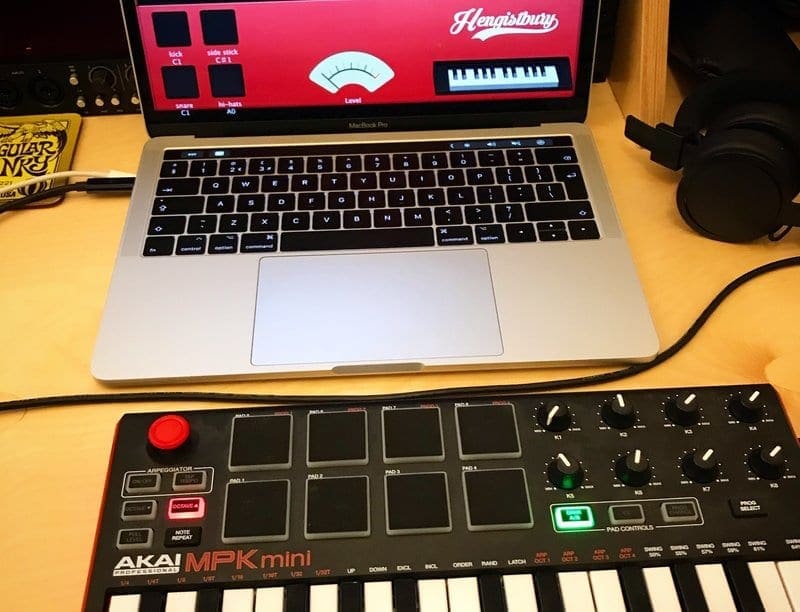
Before we get started, it is possible to use MainStage software without any hardware (if you have a Touch Bar MacBook Pro the Touch Bar can even act as a keyboard rig) but I would recommend having a MIDI Keyboard and an I/O interface.
You can also use VST Plugins (virtual instruments) – download a ton of free VST plugins here.
The physical keyboard is easier for triggering samples with the buttons and playing MIDI sounds and the interface will give you options for running guitars/mics/keyboards in and getting a balanced line out rather than relying on the headphone jack.
I use an AKAI MPK mini 25-note MIDI keyboard and a Focusrite Scarlett 2i2 interface.
Making Music On The Go?
Don’t want to travel with your best home music production computer?
No problem, you can use Logic Mainstage 3 iPad instead. If you have an iOS device, MainStage will work with the Logic Remote App which is a free app from the App Store which will allow you to play a wide variety of keys and trigger samples.
As a tip: while this is a really good feature. I would be careful with it. In my experience, the Logic Remote App is really useful but there can sometimes be latency due to the wireless connection especially receiving a large volume of requests.
This is not a problem if you are just starting a track, but can be a real issue if you need your samples to be bang on a specific beat or if you are playing the keys.
Another consideration is the Mac you use. MainStage 3 is an Apple product and so there is no Mainstage software for PC. With regard to tech specs, the cheaper/older Macs tend to have traditional spinning hard drives.
These tend to mix badly with the high-vibration environment of a gig so I would recommend something with Flash /Solid State storage.
You can run on a MacBook Air or a Mac mini but as with all things audio, the better the machine, the better the performance.
MainStage 3 Key Concepts
Any new software can be a challenge to wrap your head around and I’d argue that the MainStage 3 app is actually one of the hardest to get to grips with. When you first open the software, as with all Apple software, you have a host of pre-populated templates that you can work with.
However, when starting out, I’d advise you to delete the pre-populated stuff and start from scratch so you can add the items you want and learn how the software works.
When you enter the project, it will open in the Edit Workspace. In the top left, you’ll see the “Layout”, “Edit” and “Performance” tabs with “Edit” highlighted.
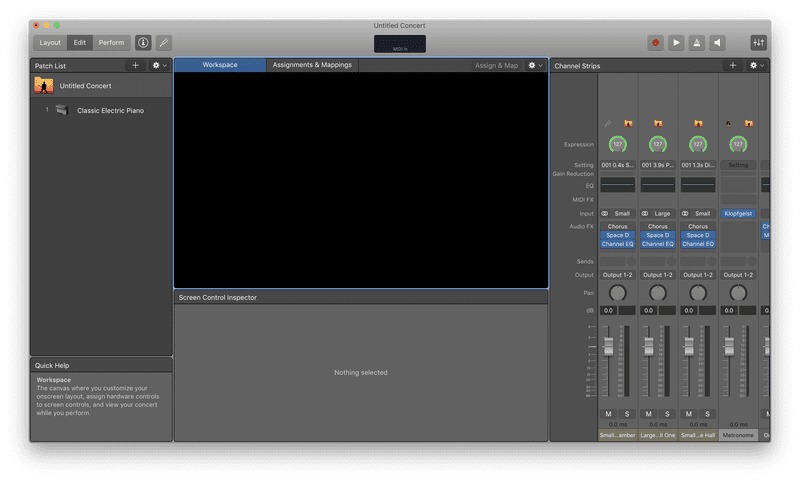
Using Mainstage 3’s Key Concepts
“Layout” is where you can choose which items you’d like in your MainStage performance window – this could be a keyboard, tuner, buttons for start/stop, faders or knobs. You can also add text if you’d like (lyrics or logos, etc.). Head here and delete the elements if you’ve started with a template.
The “Edit” tab is where you decide what the items you’ve added in “Layout” will do and map them to your hardware.
“Perform” is a full-screen view of your performance workspace for when you are on stage.
When in the “Edit” workspace, you’ll notice a File Structure down the left-hand side. This is called the Patch List. The Patch List is organised by Concert (denoted by the MainStage Guitarist silhouette), Setlists and Patches.
The Concert is the master settings and layout – in my project, this incorporates a keyboard, the 8 Buttons and Knobs on my MIDI controller and an output gauge.
The Patches are individual settings that are based on the master Concert Profile but are customisable. Think of the patches as individual songs within a set.
For example, you might have a keyboard in your workspace. In one patch you might want to have the keyboard make the sound of an electric piano with a couple of buttons to trigger drum sounds and a knob to control the volume.
In the next patch, you might want to have the same layout but the keyboard may have an organ voice and the buttons might trigger different percussion or audio samples you have.
Setting Up Your Concert & Recording
Step 1
The first thing you want to do is assign your favourite hardware to controls in the software. Click on the Concert and then select the “Layout” tab.
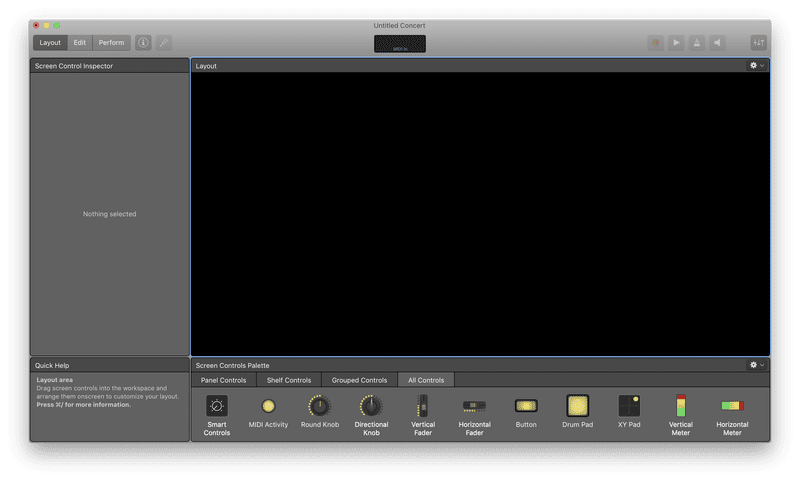
At the bottom of the workspace, you have a list of different controls including buttons, drum kit, drum pads, knobs, meters, etc. Just drag the items you’d like onto your workspace. I found that the easiest approach for me was to mirror the buttons and knobs I have on my hardware.
BONUS TIP: If your MIDI keyboard only has keys and no trigger buttons, you may want to choose between having a MIDI Keyboard and triggering samples as otherwise you’ll be playing away and one accidental press of a key might trigger a sample.
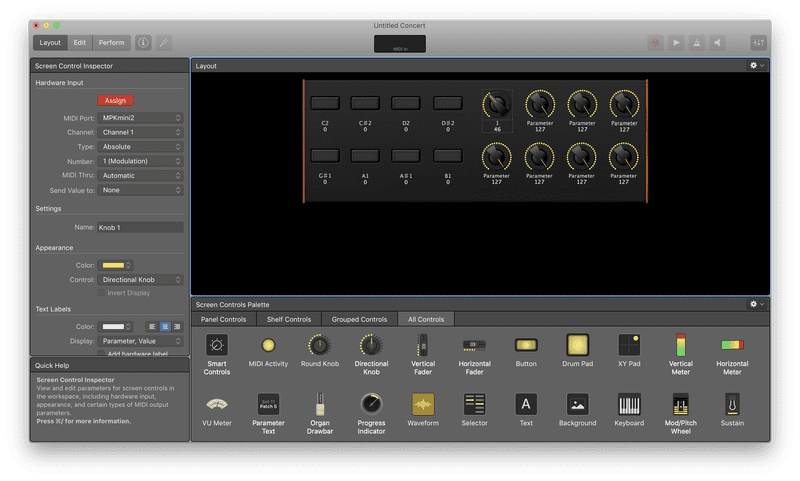
Once you have your workspace arranged with knobs and buttons, you need to assign your hardware to the knobs and buttons. Simply click on the item and in the inspector on the left, you’ll see an ‘Assign’ button appear with some other details. Click on ‘Assign’ and it will turn red.
Then press or turn the hardware control you’d like to pair with and you’ll see the pairing – either the button on the screen will illuminate as pressed or if a knob or fader is, then the corresponding on-screen knob or fader will move. Then click ‘assign’ and those parameters are paired.
Step 2
Next, head to the Edit Tab and select the patch you’d like to edit. In the workspace, you’ll see the controls you added in the layout tab and when you press buttons and turn knobs on your hardware, you should see the on-screen items move in correspondence.
You now need to set what you’d like your elements to control.
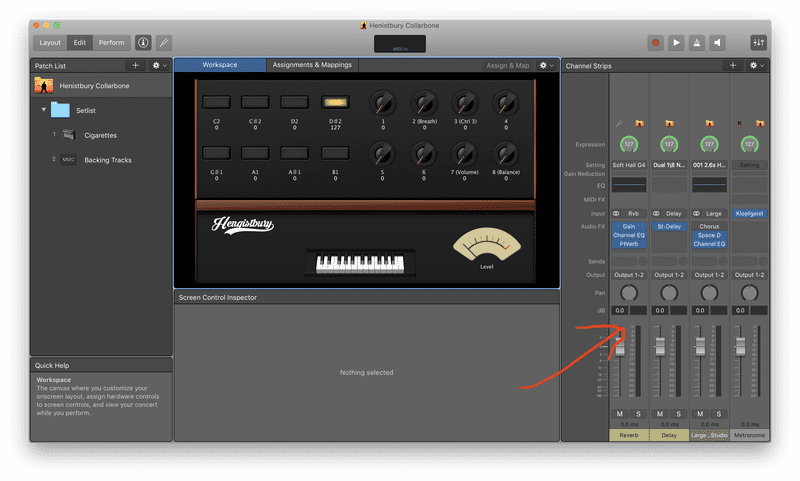
For audio samples, backing tracks and MIDI voices, you add these in the Channel Strip section on the right-hand side. You either drag and drop audio in or use the ‘+’ in the top right-hand corner.
Once your samples are in the channel strip, click on one of your smart controls in the workspace and at the bottom, you’ll see a “Map Parameter” button appear.
Click that button and then choose (for example) the audio track in question>Playback>Transport>Play/Stop (from Start).
Now, if you press the button on your hardware keyboard that you Assigned in Layout, you should hear the sound of your track starting.
Go through the same mapping process with a Knob and select ‘Volume’ and you should find your hardware controlling the volume of your sample.
Repeat for each sample and hardware parameter and you are off!
Step 3
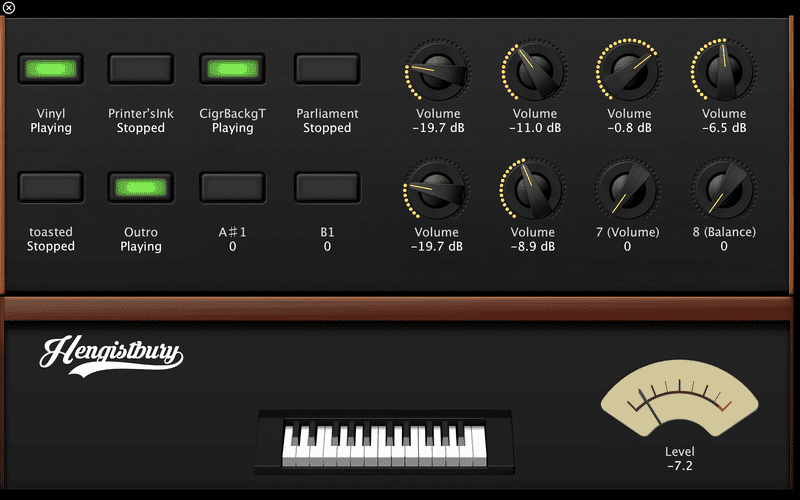
If you click the “Perform” tab, you will get a full-screen view of your performance workspace – ready for you to focus on the music! Build your music library, submit your music and book some shows! The Hengistbury has a great retro synth sound, do check it out.
Available as a download on the Mac App Store, MainStage 3 is priced at £28.99.
As with most audio software and audio units, MainStage 3 is best understood by playing with it – hopefully, this will be a good guide to get you started.
If you need more help, there are a number of Mainstage demos available to view online. Good luck and have fun using Mainstage 3 for your live performances!
Got this down and ready to collaborate with others? Join our global community of thousands to find artists, musicians and more to work with. If you’re more of a lone wolf, why not use what’s at your fingertips to get your music in film, TV and more or submit your music demos directly to industry tastemakers?
About The Author
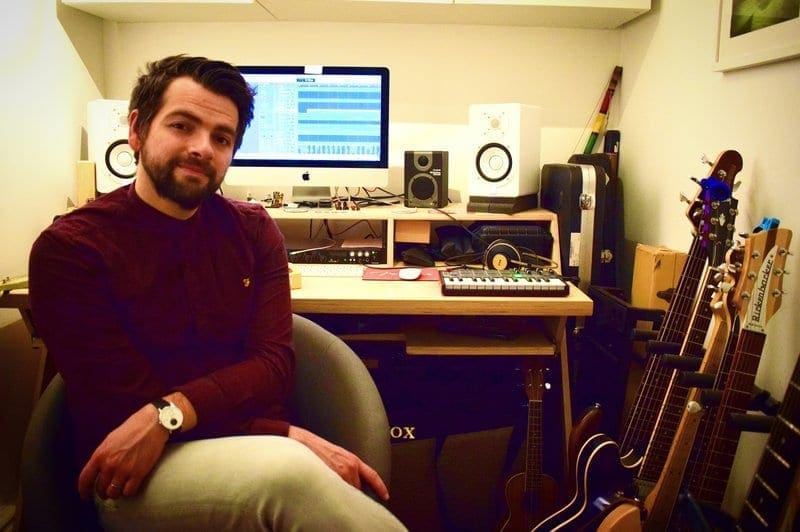
Pete Briley is a songwriter, producer and one-half of the country duo, Hengistbury, whose debut album is out now on all platforms.
