
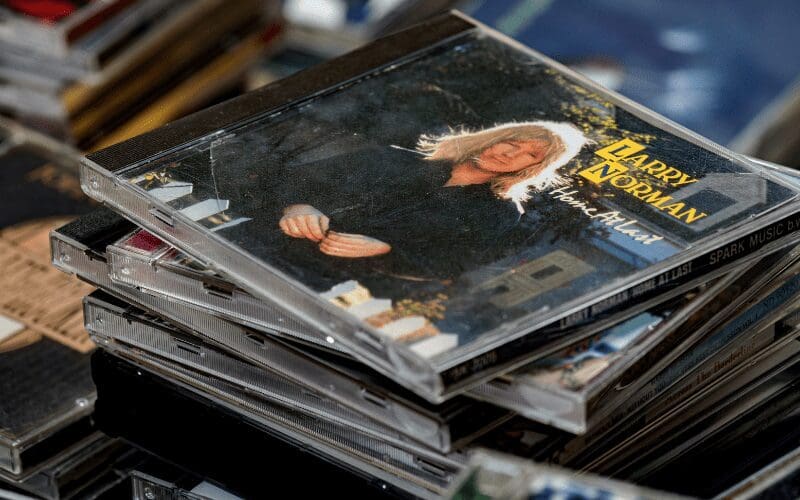
Digipak CDs are used by artists and labels around the world to offer fans a limited-edition product, but what are they?

Simply, CD digipaks are a printed card packaging that is often used for CDs and/or DVDs. The digipak, made from cardboard stock, contains an internal plastic holder that is capable of holding one or more discs. Discs are held in place via plastic trays (flexi trays), which are glued into the digipak.
Here is everything you need to know about a digipak CD and how you can make one yourself!
What Is A Digipak?
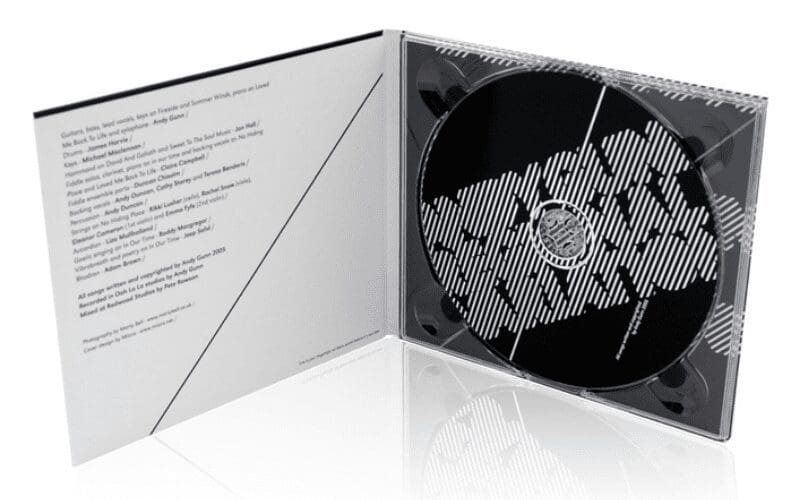
A digipak is the same form and size as a standard CD Jewel Case, however it is made mostly from environmentally friendly board. The difference with a digipak is that the CD wallet/jacket has a plastic tray which the disc snaps into – overall it is a sturdier product.
The history of the digipak goes back to 1974, when Dutch electronics company Philips began developing a digital optical audio disk with an error correction code.
50 years later, these disks are a core part of 21st century life. Digipak CD packaging contains an outer shell made from a type of custom cardboard. Within it, lies one or more plastic trays able to hold a CD.
Different Types Of Digipak
You’d be surprised as to how many digipaks are out there!
Below is an overview of the types of digipaks available.
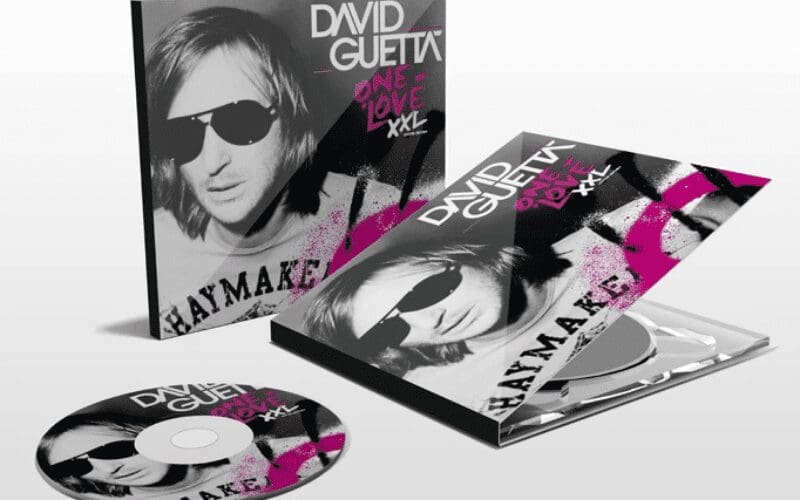
4 Panel Digipak
This is the most popular product.
It is the standard 4 panel CD digiPak and has replaced the Jewel case in terms of popularity for albums.
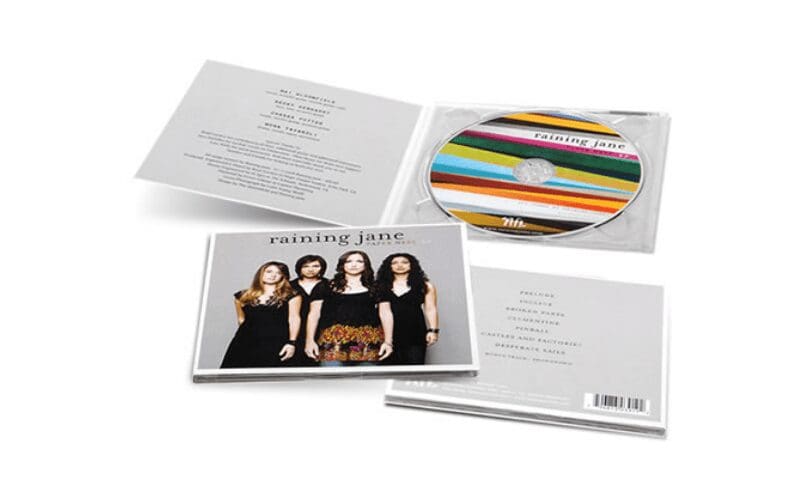
6 Panel Digipak
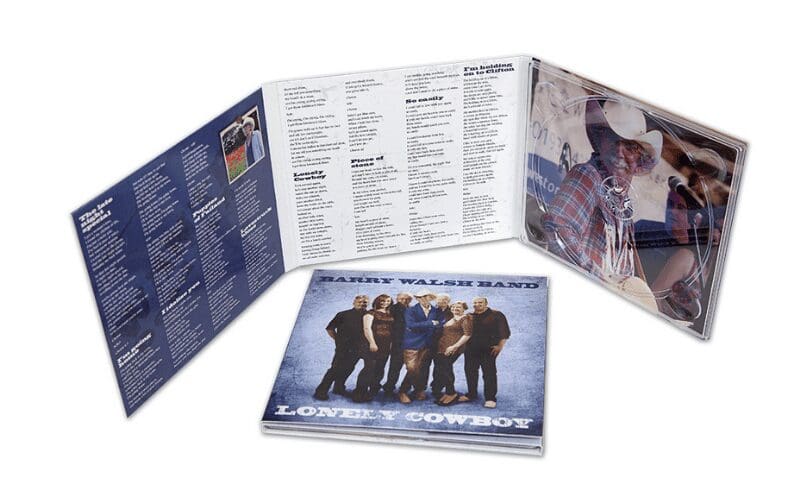
The 6 Panel has an extra panel allowing you to position the tray on either the centre panel or the right-hand panel – whichever best suits your design.
You can also opt for an 8 panel or 10 panel, which are a bit rarer, but means your album will stand out.
Paperfoam CD Digipak
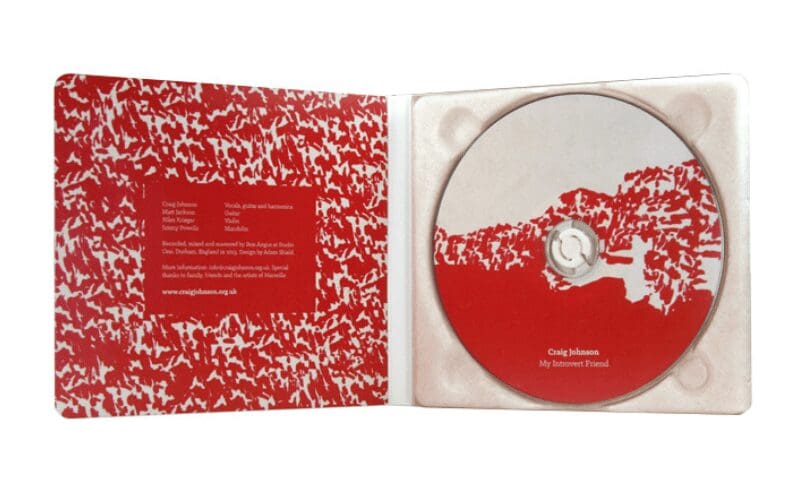
Paperfoam Tray packaging substitutes the plastic flexi trays with a 100% biodegradable tray.
Paperfoam CD packaging has an 85% lower carbon footprint compared to traditional plastic CD packaging.
How Much Do Digipak CDs Cost?

CD digipaks offer a modern, stylish way of displaying CDs without compromising on professionalism, and they are relatively cheap.
You can get 100 digipaks CDs for £240. This is just £20 more than 100 Jewel Case CDs (priced at £220)!
Digipak vs Jewel Case
There are some differences between a digipak and a jewel case. A digipak can be defined as a type of packaging for CDs normally made from cardboard with an internal plastic holder for one or more discs.
However, a CD case is referred to as a jewel case, defined as a storage box for a CD.
When associated with CD Jewel Cases, the first reasonably priced method of storing compact discs, the digipak’s outer cardboard frame provides more firmness. With digipaks, because there are more sides to them, the artists have freedom to put more things on them.
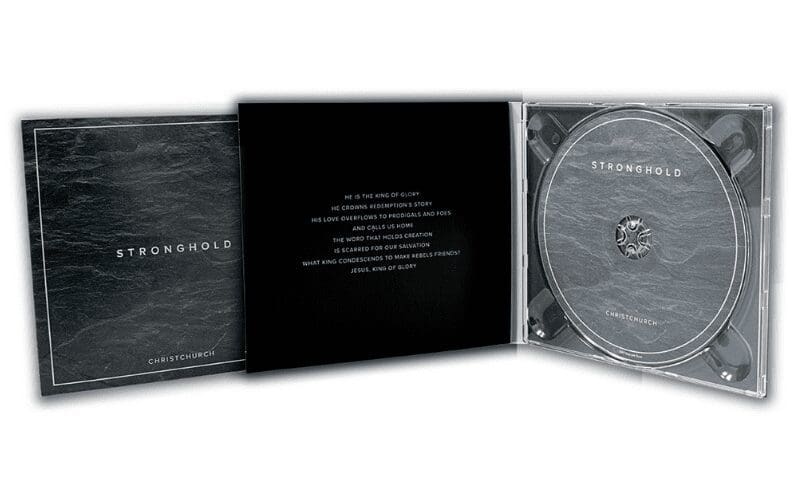
For example, several artists put lyrics or a personal thank you in them. This isn’t always possible on CD cases due to the lack of space.
Dissimilar to CD Jewel Cases, which have a very firm structure because of their plastic, the digipak has a look similar to that of an envelope. Unique artwork (related to the CD) is now able to be printed onto the cardboard, used as an expression for musical artists.
For many fans hoping to find some ‘unique’ merchandise, digipaks are the cheaper alternative to the purchasing of vinyl.
Digipaks are preferred by major label artists as it opens up like a book, offering the buyer a better experience than just appreciating a CD.
How To Make A Digipak
Making artwork for CD duplication or replication isn’t always straightforward.
You have to consider bleed, margins, DPI and more – which can be unclear the first time you do it.
So, how do you prepare digipak CD artwork? Firstly make sure you include the following in your digipak:
- Album name
- Artist name
- Album Song List
- Barcode
- Record label
- Copyright label
- Artwork
- Disk Holder
- Possibly some lyrics
Here is a step by step guide that you should follow to get your artwork ready:
1. Photoshop & Template
Open up your Photoshop software and use a template (you can find examples online).
Once you load the template, on the right-hand side, you can see the layers section. This is where you’ll layer each panel of your artwork on top of each other.
If you see a red border in the shape of four rectangles, this is a bleed area and the frame won’t be printed onto the sleeve but it is very important at the preparation stage.
2. Import Your Artwork Panels
You need 4 panels: front, back, inside left and inside right (which sits under the tray).
To make things simple first open your front panel. You’ll see the front panel opens up as a separate Photoshop file, on a separate tab. You want to change the view so you can copy the image onto the template file.
Click on your artwork panel, move it to the template tab and drop it. Your artwork panel should be much bigger than the template size. It means it’s in high definition which is better for printing.
|cta-link type=’music-promotion’|
3. Resize The Panels To Fit The Template
With the artwork layer highlighted on your keyboard press “Ctrl” and “T”. This will show you the whole panel even if it’s outside the template. While resizing, keep the shift key to ensure you don’t change the structure of the panel.
Remember, the artwork panel should cover the red lines. The red lines indicate the bleed and fold area.
4. Check The Bleed & Positioning
Make sure all the panels are covering the red bleed lines. To do that, move the template layer.
This shows you the exact elements which are too close to the edge or the artwork doesn’t cover the bleed lines.
5. Disable The Template
During the process of fitting the artwork panels to the template, you can alter between template on and off options often.
You can also disable the template by clicking on the “eye” icon.
6. Export As A PDF
Now with the template disabled you can export the whole artwork to .pdf file.
Make sure your artwork is in CMYK mode (printing mode) and you’re happy with the colours as CMYK mode will not display very prominent colours.
Now export the artwork. You can check if the artwork is in high resolution by going to Image and Image Size in the top menu. You will see their Resolution tab. The artwork should be at least 300 pixels/inch.
Once your artwork is complete you can print it off, you can then create your digipaks ready for distribution.
Now You Know Everything About Digipaks!
There you have it! You’re now a digipak expert!
Now that you know everything about digipaks and how to create your artwork, it is time to get creative. Make a digipak that will stand out and encourage your fans to buy it!
Let us know how you get on in the comments and be sure to give us a tag if you post your creations on your socials!
We hope that you enjoyed this article. Whilst you’re here, why not check out some more useful guides on our blog such as, What Is A Setlist & How Do I Make One and DIY Touring.