If you’re a musician looking to take your music to the next level, you may be wondering how to change pitch in GarageBand. Whether you’re trying to create a unique sound for a song or just experimenting with different tones, adjusting the pitch of your audio can be a great way to make your music stand out.
In this article, we’ll explain how to change pitch in GarageBand and explore some of the creative possibilities that come with doing so.
What is a Pitch?
Pitch in music is the relative frequency of a note or sound, usually measured in Hertz (Hz). It is the basic element of melody and harmony, and it is what creates the musical intervals of notes and chords.
Pitch is typically determined by the frequency of the sound wave that is produced when a note is played, which is why for producers using the software it is important to know how to change pitch in GarageBand.
What is Garageband?
Garageband is a digital audio workstation and music creation software developed by Apple. It is available for MacOS and iOS and allows users to create music and podcasts with a wide range of virtual instruments, audio effects, and loops.
Garageband also includes a built-in library of royalty-free sound effects, loops, and instruments.
How to Adjust the Pitch Using Garageband
Changing the pitch of a track in GarageBand is a great way to create unique and interesting sounds. Whether you’re creating a remix, recording a cover, or just experimenting with sound, adjusting the pitch can be a great way to add some flavour to your music. Here’s how to do it.
1. Open GarageBand and select the track you want to adjust.
2. Click on the “Edit” tab in the top toolbar.
3. Select “Time and Pitch” from the drop-down menu.
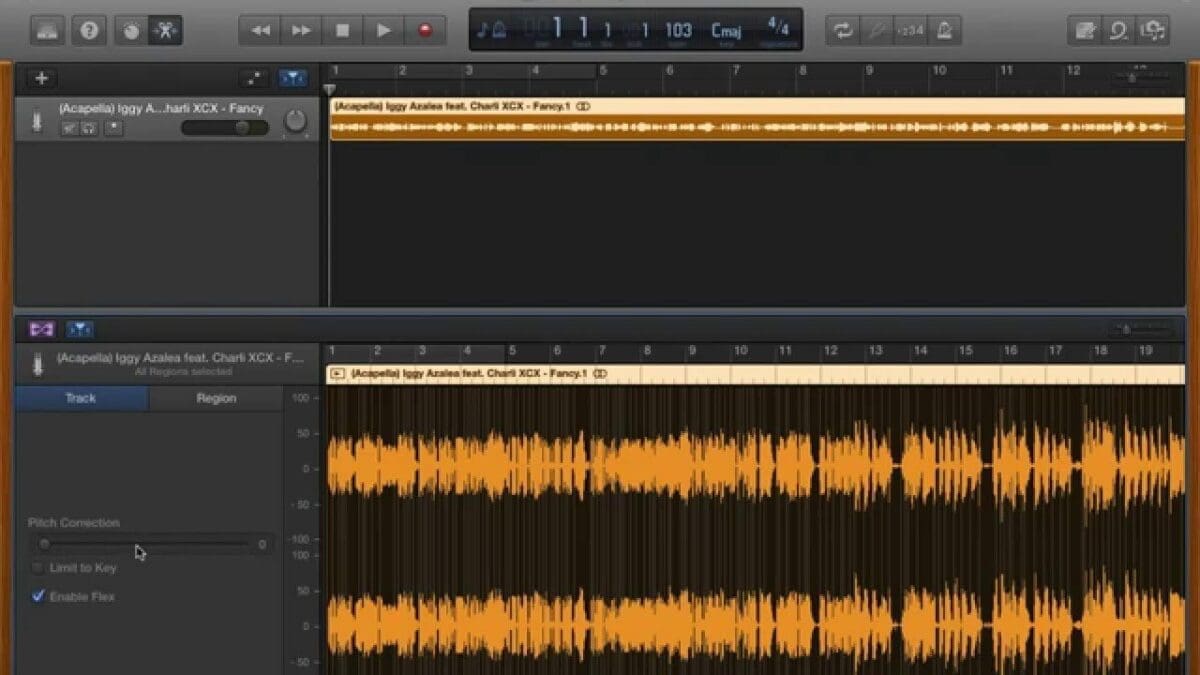
4. You’ll now see a “Pitch” slider. Drag the slider to the desired pitch. This is key to learning how to change pitch in Garageband.
5. If you want to adjust the pitch in finer increments, you can use the “Fine Tune” slider. This allows you to adjust the pitch in 1/100th of semitone increments.
6. You can also use the “Time” slider to adjust the speed of the track. This is useful for creating a “chipmunk” effect, where the track plays back faster than normal.
7. When you’re happy with the results, click “Done” to save your changes.
And that’s it! With just a few simple steps, now you know how to change pitch in GarageBand. Have fun experimenting and creating unique sounds!
Watch this video tutorial on how to change the pitch in Garageband.
Summary: How To Change Pitch in GarageBand
By following the steps outlined in this article, you should now be able to adjust the pitch of your audio in GarageBand with ease. With this newfound knowledge, you can create unique and interesting music that stands out from the rest. So go out there and start experimenting with your new sound!
Now you know how to change pitch in Garageband, good luck and thank you, from us here at Music Gateway.