
In this article, we will be going over the art of mixing music and how you can use it to make yourself a better musician!

We will provide you with everything you need to know about mixing in music production and the difference between mixing and mastering.
If this sounds like something that interests you, then keep reading!
What Is Mixing Music?

Mixing music is the art of blending a collage of sounds into a cohesive audio experience.
Even though there are aspects of mixing which can be seen as technical, the overall purpose of mixing is artistic in nature rather than scientific.
Another way to look at mixing can be fixing the problematic or non required frequencies from an audio recording.
For example, a guitar performance sounds great on its own. But as soon as it is played with the bass and drum recording, it loses its sound and everything starts to sound cluttered.
In order to fix this issue, a mix engineer will try multiple things. Such as cutting the low frequencies of the guitar so it doesn’t clash with the bass sound. Or maybe pan the guitar away from the centre so the sounds do not merge into each other.
This brings us onto mixing in music production.
Mixing In Music Production

Thanks to technological advances, music producers and artists can do the mixing of their songs themselves.
This doesn’t mean that the need for independent mixing engineers is diminished.
Many producers mix while creating music due to productions being done on computers.
Historically, mixing used to be done after the production and recording of a song is completed. The producers will send the recorded tracks to the engineers for them to mix all the sounds into a stereo, mono, or multi mono track (5.1, 7.1, 9.1, binaural, etc).
Nowadays this process can be done simultaneously with the creative process of music production.
What Is The Difference Between Mixing And Mastering?

As we explained above, mixing is the act of putting all the recorded and produced sounds together. While enhancing and fixing the sonic output of the tracks.
Mastering on the other hand, takes the single mixed track and manipulates/balances it further for digital and other releases.
In simple terms, mix engineers put all the recorded tracks together. And mastering engineers add the final adjustments to that mixed track.
Mastering requires many hours of practicing and listening to various genres of music. This is in order to understand and be able to hear minimal auditory differences in a mix.
Mastering engineers use multiple speakers in order to judge how the track will sound on different setups.
Additionally, mastering engineers are required to know how each digital platform such as YouTube, Spotify, and Soundcloud compress the audio. This is in order to keep the similar loudness level of each track.
If you’d like to read more about mastering, check out our article on Music Mastering: Getting Started.
Also, don’t forget, with our incredible free Music Distribution service here at Мusic Gateway, we master your music for free to make sure that you sound the best you can before your release.
We also offer a free Mastering Tool where you get instant online mastering – free. Forever.
Check it out today!
How To Mix Music

So, now that we have covered the basics. How do we actually mix music?
Mixing is an art, which means it has subjective qualities.
Mixing requires quantitative number crunching and surgical approaches with plugins. But the overall sound is achieved by the intuition and tacit knowledge of the mix engineer.
In this article, we will try to simplify the process and suggest guidelines in order for you to be able to mix your and others tracks.
As any skill in life, the more you do the better you will become at it!
Different genres require different approaches. However, they use similar plugins and tools.
In order to get better at mixing, the best method would be to understand the tools being used in the process.
These plugins/tools include the following:
- Equalisers
- Compressors
- Reverb & Delay Effects
- Panning
- Distortion & Saturation
- Limiter
There are other tools for specific processes. But, if you have a good understanding of above mentioned plugins, you will be able to mix the majority of the music!
Let’s go over them in a little more detail.
Equalisation
Equalisation is used to fix frequency based issues in a recorded track. This plugin can add or remove frequencies in the best possible way.
Equaliser is also known as EQ. This plugin is available for free on any DAW (Fruity Loops, Logic X, Pro Tools, Reaper, Cubase etc).
This is an essential tool to understand as it will allow you to fix the majority of issues in a recorded track.
But how do we use one?
How To Use An Equaliser
EQ is an ‘insert’ plugin meaning that it is used on one track at a time unlike a ‘send’ plugin where multiple audio tracks can access it simultaneously.
EQ is used differently on each instrument. The following are different types of Equalisation available.
Hi Cut/Low Pass EQ
As the name suggests, High Cut EQ removes the frequencies above the threshold set by the user.
For example, if you set -3db high cut eq to 2000 Hz, this will reduce 3db of sound from the frequencies above 2000hz.
A practical application of this would be if you want a sound to appear distant. You can remove the high frequencies using Hi Cut EQ to create the illusion of sound coming from afar.
Hi Cut EQ is ideal for backing vocals. In order to make them sound behind the lead singer. This effect is also used to create the effect of hearing music from outside a club.
Low Cut/Hi Pass EQ
Exactly opposite to the High Cut EQ. This will allow removing frequencies below a certain frequency.
For example, if you set the Low Cut EQ to 500 Hz, this means below 500 Hz frequencies will be reduced by the set db level.
A practical application of this EQ is to remove ‘muddiness’ and add clarity in the low end of your mix.
Removing the low frequencies from all the tracks except Bass and Kick tracks can create space for bass and kick to create the audio impact.
Generally, low frequencies are removed from the lead vocals in order to have the background music separated from the vocals and create clarity.
Bell EQ
This type of equalisation is for tackling the issues of particular frequencies in a track.
The visual display of this process appears like a ‘bell’ hence the name Bell EQ.
The width of the bell is known as ‘Q’.
Q value determines how much frequency area you want to enhance or remove.
Let’s suppose we are working on an EDM track and our bass and kick sound similar. This means when played separately they sound good, but together they mask each other creating a cluttered and messy low end.
In this situation, the Bell EQ will help separate the sounds. We can remove 3 to 5 dB at 50-100 Hz from the kick or bass frequencies while increasing the same section on the other track.
For more explanation on equalisation, check out our article on EQ In Music.
Compression
Once the frequencies are balanced the next step is to add compression.
Compression is used in multiple ways. However, the most important reason for using this plugin is to even out the dynamics of individual recordings.
For example, if we record a singing performance there will always be parts which are louder or softer than others. This is due to the composition and stylistic reasons of a track.
However, for a listener, this constant dynamic shift can create a distraction from the essence of the song. Compression allows us to even out these dynamics.
Compressors are possibly the most mysterious plugins/tools for mixing. Even though it only has 3 to 4 controls, the combination of various settings can baffle inexperienced mix engineers.
To learn more about compression, check out our article on Audio Compression.
Reverb/Delay Effects

Once the cleanup and balancing of frequencies and dynamics are done, we can move on to the ‘effects’.
Due to digital advancements, there are many plugins offering various effects. However, Reverb and Delay are the 2 most common effects being used in contemporary music.
To learn more about reverb, make sure to check out our article on Reverb In Music Production & Mixing.
Panning
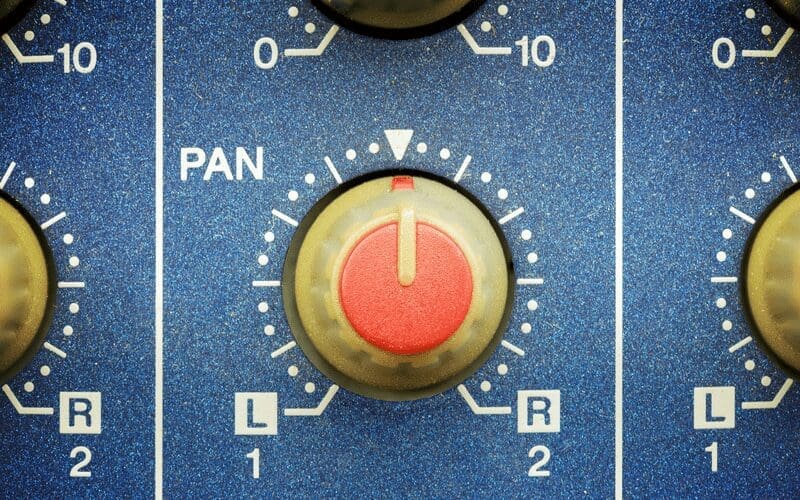
The next step is planning. Hopefully by this time, your mix sounds good and balanced!
If not, you should go back to the EQ and Compression, as they will really make or break the mix.
Panning is to create space in the mix. Generally, try to pan things slightly left or right from the centre. This is in order to have the vocals being the centre and the main attraction of the song.
Drums and bass are also generally in the centre so the ‘groove’ of the track can be fixed in the middle. The rest of the melodies can be floated left and right.
Nowadays there is binaural panning which is a whole different field in mixing.
We recommend doing some research on that, as it is very interesting for the enthusiasts of VR and 3D audio!
Distortion & Saturation

This is the fun part.
Play around with Distortion and Saturation plugins. These can provide an interesting character to your sound while adding loudness.
However, use it as a pinch of salt. Too much distortion can ruin the mix by being too overpowered.
The best approach would be to use it as a ‘send’ effect. Send vocals or drums to that bus and dial a little bit to add a tiny layer of saturation underneath the main audio.
This will give your mix an extra punch without changing the overall sound!
To read more about distortion, check out our article on How To Use Distortion Creatively.
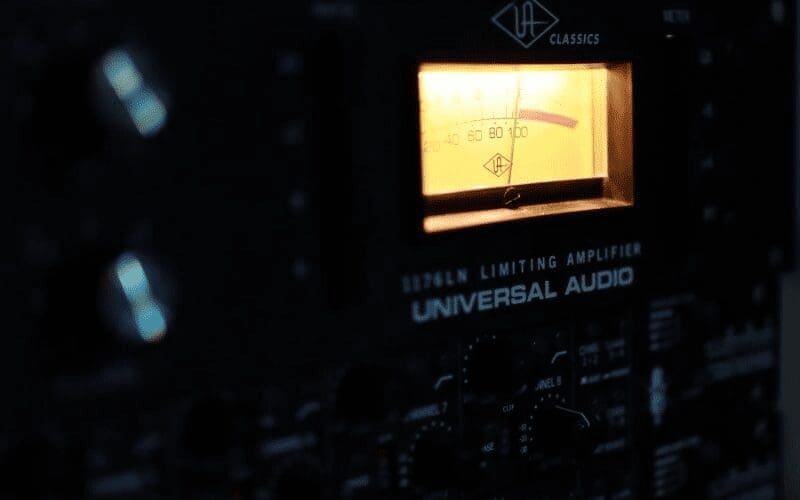
Limiter
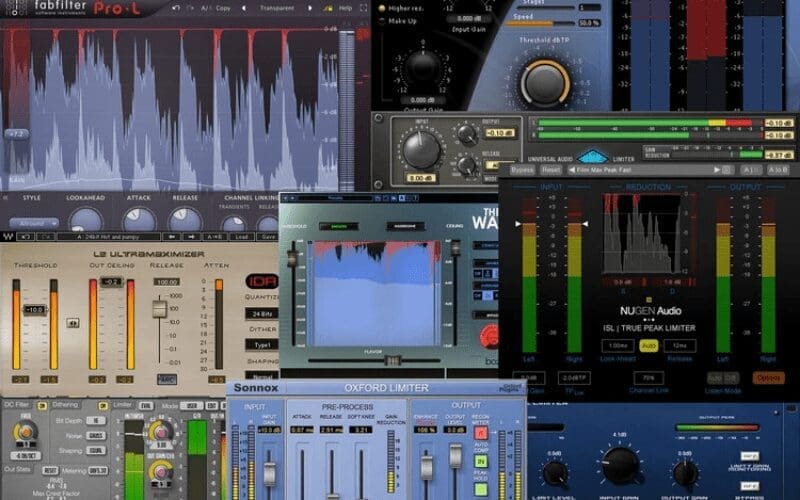
A Limiter is very similar to a Compressor.
It limits the audio to a certain level and no audio can go above the set level of the limiter.
If you want the mix to stay within 0db and not clip, the best approach will be to work with low-level audio (-12db target).
However if after adding processes the sound goes above 0db, use a limiter so the sound doesn’t go over 0db. Or, whatever level you choose!
That Was Our Guide On Mixing Music

So, there you go!
Use the above plugins/tools and you will be on the way to creating well-balanced mixes.
There are other tools that are important. Such as Pitch Correction, Beat Detective, Automation, Audio stretching, and more. However, once you are good at hearing the differences in compression and equalisation, these fancy tools are way easier to understand by just using them in the practice.
If you’d like us to do a part 2 explaining these, then let us know below in the comments section! While you’re there, let us know what you thought of this article.
We hope you picked up some useful information from this article! Be sure to share across your socials and give us a tag!
Whilst you’re here, why not check out some more of our helpful guides? Such as, The Best Free Autotune Plugins of 2020 or The Best Sound Mixers For 2020.
Good luck and keep mixing!
Are You An Artist Or Music Producer?
If you are looking for a platform that offers everything you need in one place, why not try Мusic Gateway? We can help with promoting your music and music marketing, improving your streaming presence and providing Sync opportunities. Try it out for free today by clicking the button below.