Reaper: Intermediate & Advanced Skills For Creativity

There is a lot to learn about Reaper and this brief guide cannot cover it all. It’s also worth mentioning that this isn’t a Reaper daw (digital audio workstation) review.
If you’re a beginner to Reaper automation or are just starting out with music production software, make sure to check out my previous article, The Complete Beginner’s Guide to Reaper.
Instead, my goal here is to cover some of the ground between the beginner and advanced users as there is a lot that Reaper offers. This is for you, the reader, to take away what I consider to be key skills both to expand creative possibilities within Reaper and to become more efficient with routine music production tasks.
Most notably, this tutorial includes getting around Reaper’s audio interface quickly, enabling, and recording midi and audio tracks and editing automation, audio and automation midi editing. This guide is based on the latest version of what Reaper includes in 2019.
Reaper Youtube Tutorial
For those of you that would prefer a visual walkthrough, watch this 10-minute Reaper tutorial video on YouTube below…
Getting Around Quickly And Other Routine Tasks
You’ll find that scrolling is one way to get around your project but it’s slow, especially with bigger projects. Enter the Navigator, accessible by default with control + alt + v.
The Navigator helps you get around your project quickly, allowing you to select, via right-click and drag, any area within the Navigator window as a zoom box. You can then move the delineated zoom box around with a left click and drag, moving quickly across your entire Reaper template.
With the mouse inside the main track window (the area where your recordings show up), scrolling the mouse wheel zooms in and out on the horizontal plane. Holding down control while scrolling the mouse wheel zooms in and out along the vertical plane.
Holding alt and scrolling the mouse wheel scrolls the window horizontally and holding ctrl + alt while scrolling the mouse wheel scrolls the window vertically. Note that you also have the traditional scroll bars for these purposes as well as the pluses and minuses (+/-) next to each scroll bar for horizontal and vertical zooming.
If you move the mouse over to the left side, to the Track Control Panel (where each track is named and can be enabled for recording), the mouse wheel scrolls vertically among your tracks.
Trial And Error
I highly recommend working with Reaper for a while and then looking into the settings (Options 🡪 Preferences or ctrl + p) a little at a time, making small changes and seeing what you prefer. It’s often easy to forget where you changed a setting and be frustrated having to find it again after you realized you liked the previous behaviour.
With a large number of customizable settings available, try to focus on what you don’t like and find out if there’s a way to change it in Reaper. This will save you some frustration.
The Reaper Routing Matrix
With that said, let’s talk about a useful tool I wish I’d been taking advantage of earlier on in my learning process – the routing matrix.
The routing matrix can be accessed via alt + r and it’s a much, much faster way to set up routing for all of your tracks.
Whereas otherwise, you’ll have to check the settings for each track separately, the disabling master sends one by one before sending tracks to a grouped channel, in the routing matrix you can do all of this and more in one window, thus saving a lot of time.
It looks intimidating at first glance but it’s a simple grid layout and it’s actually really easy to use. You just click the box which intersects the row and column of the two items you wish to route together.
The sends are arranged vertically along the left side and the receives are horizontal across the top starting with the Master/Parent track.
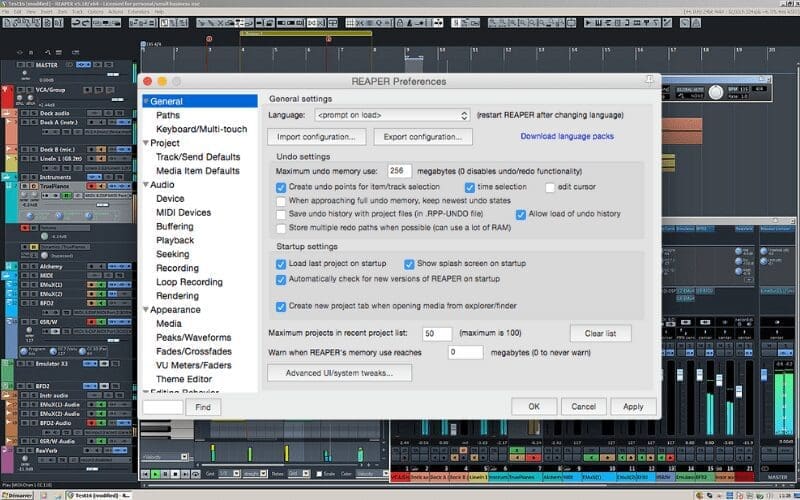
Undo History
The nature of production, particularly the mixing stage, is one which is not linear and so it makes sense to make undo and redo as simple as possible.
Go into settings, see Preferences, then under General there will be a few ‘Undo’ settings. These will hopefully achieve the outcome you desire.
Creating Templates in Reaper
Templates are a quick way to load an empty project with routing, recording inputs and virtual instruments set up to quickly record ideas and maintain your creative flow. Essentially, you will manually create and route tracks as you wish to create a default layout.
This can be loaded at the beginning of each new project with everything ready to go. Then, when everything is set up and before beginning your project’s recording, simply save it as a template via File 🡪Project Templates 🡪 Save project as template…
Now it will be available to load via the same submenu, just below Save project as template…
Now it will be available to load via the same submenu, just below Save project as template…
Automation: Volume Fade-outs
Fade-outs are an easy way to introduce automation which is created using the mouse. On your track bar at the left, there will be a symbol that resembles a lop-sided caret (^) called Track envelopes/automation. Click on this and put an ‘x’ in Volume which should also check off visible and arm and create a new lane beneath your track with a line running along with it.
That represents your volume level. Now simply go to the place you wish to start fading your volume, right-click the line (or simply shift-click the line) and select create a new point.
Then go to the point where you want the fade to finish and create another point. Now drag the line outside the finish point. If it’s a fade to silence, hover over the new level to be sure it’s negative infinity (-inf).
Changing Levels
Besides automation, there’s another way to change levels which I find useful after recording before I start mixing. This ensures the level of consistency across takes/overdubs.
Click the location where the section begins and press s to slice it (separate it from the rest of the take) and then click on the end-point and slice it as well. This will create a separate section to work with. Note that you may need to turn off the snap to the grid by clicking the magnet icon at the top left.
If you want to lower the volume of this sliced section, you can do so by dragging it down from the top of the take. A horizontal bar will appear across the sliced section of the take, with an indicator of the amount of reduction being applied.
To increase the volume, simply right-click the sliced section and select Item properties (or just press F2 after clicking). Now adjust the Volume/pan slider at the middle of the properties window, clicking Apply when finished.
Setting Themes
Themes are helpful in making Reaper easier on the eyes as well as making the layout easier to read and work with. You can download quite a few free themes at the Reaper website.
I recommend downloading them directly to your Reaper installation location’s Install Data & Color Themes subfolder.
Then, simply drag and drop each downloaded theme into your Reaper window to change to that theme. After doing so, you can later easily switch between themes via Options 🡪 Themes.
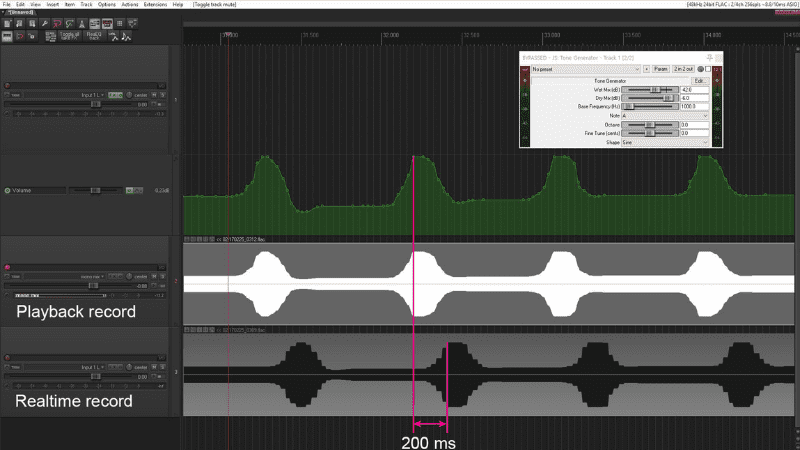
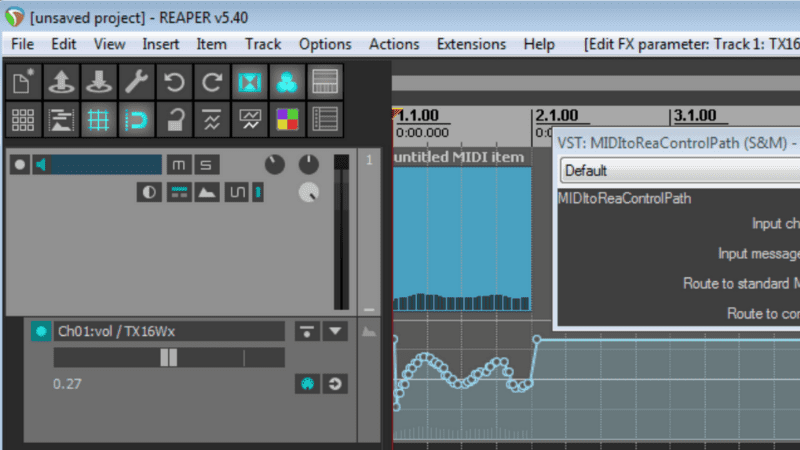
Automation: Recording Automation From A USB device
Automation recording is a bit more complicated than mouse-based automation. However, it’s definitely worth the hassle to learn! Once it works, it’s far less of a hassle than drawing a bunch of points with a mouse. Note that this will require rehearsal and good performance in exchange.
Setting Up Reaper
To get ready for recording automation through your USB controller, make sure you’ve done the following.
- Check that your midi controller is connected, powered on, detected and active in Reaper.
- Next, arm your track with a software synth loaded in FX and open the soft synth’s UI.
- Each one is different, but it will likely include an easy assignment button which detects hardware movement and assigns it to a highlighted parameter of your choosing. Otherwise, there is also a way to do this strictly through Reaper.
Go to the track envelopes automation window and click to make visible and arm the parameters you wish to record.
Make sure your automation is in write mode from the drop-down menu at the top of the window.
Then click the learn button to the right of the desired parameter and move a knob on the controller. The name of that knob should show up in the box of the ‘learn’ window and once you click ok, it should be correctly assigned.
The first time I tried this it didn’t work so you may have to double-check several things.
(1) That you’re in write mode,
(2) your USB controller is on and being detected and set to enabled in Reaper and
(3) that the track is armed for recording. If all this is fine and it’s still not working, try unplugging and replugging your USB controller. Alternatively, if this doesn’t work toggle record and double-check your recording settings.
Once you’ve assigned parameters to your controller and set them to record mode, you’re ready to go and simply need to press record and capture your performance.
Don’t forget to switch the track envelop automation mode from Write back to (Trim/) read when you’re satisfied with your performance.
Project Templates
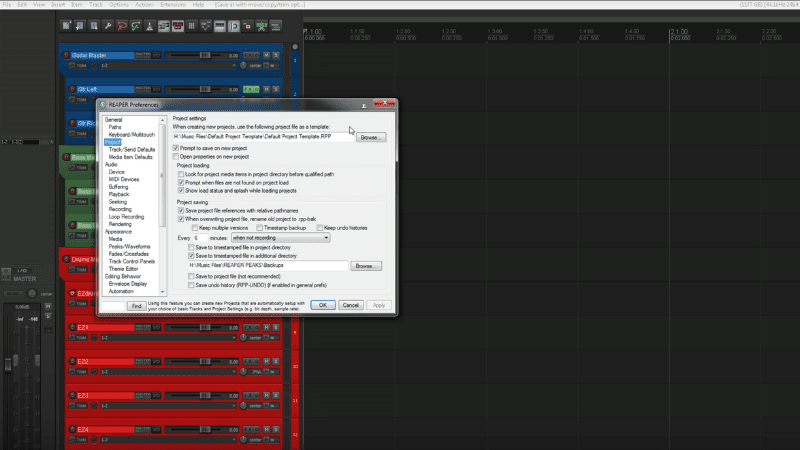
When you create a project template (or two) you can save a lot of time.
This neat feature allows you to reuse sounds, effects combinations or another routing that you took a lot of time previously to set up! Templates can be accessed via File 🡪 Project Templates.
Any templates you’ve created will be listed there to choose from. Alternatively, you can also save a template here once you’ve set up an empty project with all the desired routing, FX and VST Plug ins, and software instruments.
This also includes recording inputs. I have a template which allows me to record bass, guitar and drums with some software instruments at the ready as well.
Conclusion
I hope that you’ve found this helpful in increasing your creative options and efficiency in producing tracks with Reaper DAW.
For further study, I highly recommend the Youtube channels Reapermania and The Reaper Blog. It’s also worth checking out the book Reaper Power.
Happy producing! Oh and if you want to know where to take your recording to the next level, check out our recording studio reviews.
We hope you found this article useful! Sign up for our mailing list to receive the latest how-to articles, artist interviews, discounts, and regular updates!
SHARE THIS ARTICLE: